
硬件准备#
STM32开发板*1- 烧录器*1
LED*1- 杜邦线若干
硬件接线#
| Peri | STM32 |
|---|
| LED | PC0 |
| ST-Link SWDIO | SWDIO/PA13 |
| ST-Link SWCLK | SWCLk/PA14 |
| ST-Link GND | GND |
| ST-Link 3V3 | 3V3 |
电路部分,如上表即可,不涉及其他外设,这样简单接线就可以工作,但是更推荐的做法是,使用Type-C/USB给板子5V供电,5V直流通过LDO或者DC/DC转为3V3后再给相应外设板子供电,这样会更稳定,若是部分外设需要5V供电,但系统里并未接入5V直流,则会导致外设无响应,或工作不正常,这是需要注意的一个点。
创建工程#
一般来说,可以直接使用一些别人写好的工具来创建模板(在crates.io上可以找到),类似esp-generate这样的工具,但是,由于rust+embassy一直都很活跃,使用别人的模板,难以保证体验最新特性,所以,介绍一下如何从cargo new xxx开始一个嵌入式rust的工程。
创建空白工程#
- 创建一个空白工程
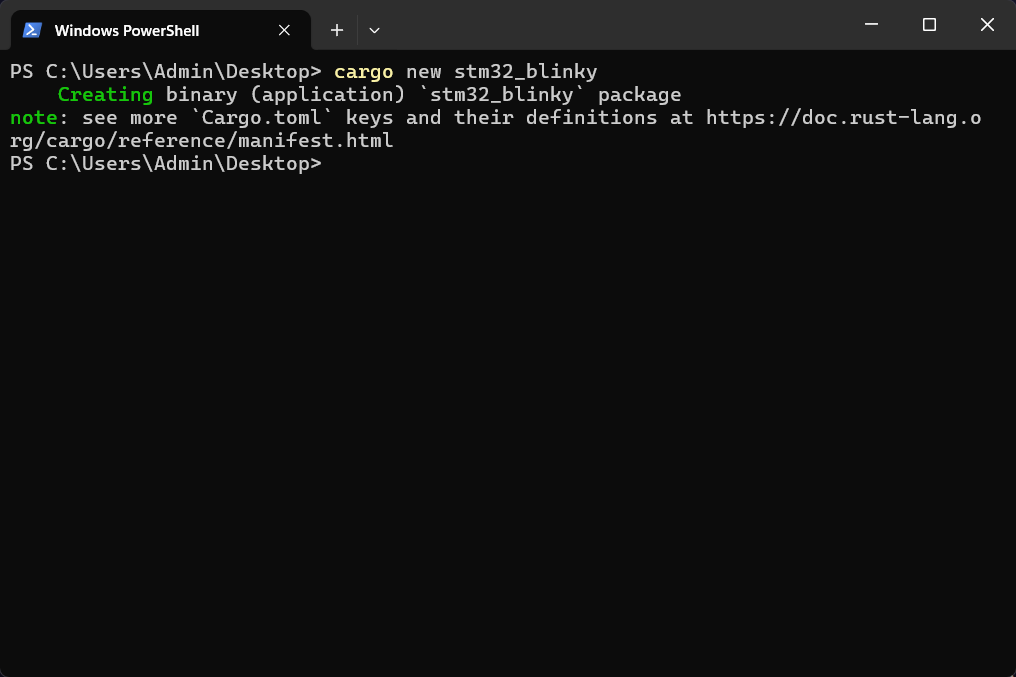
打开终端,输入:
注意:工程名最好是snake_case。
- 使用
vscode打开所创建的工程
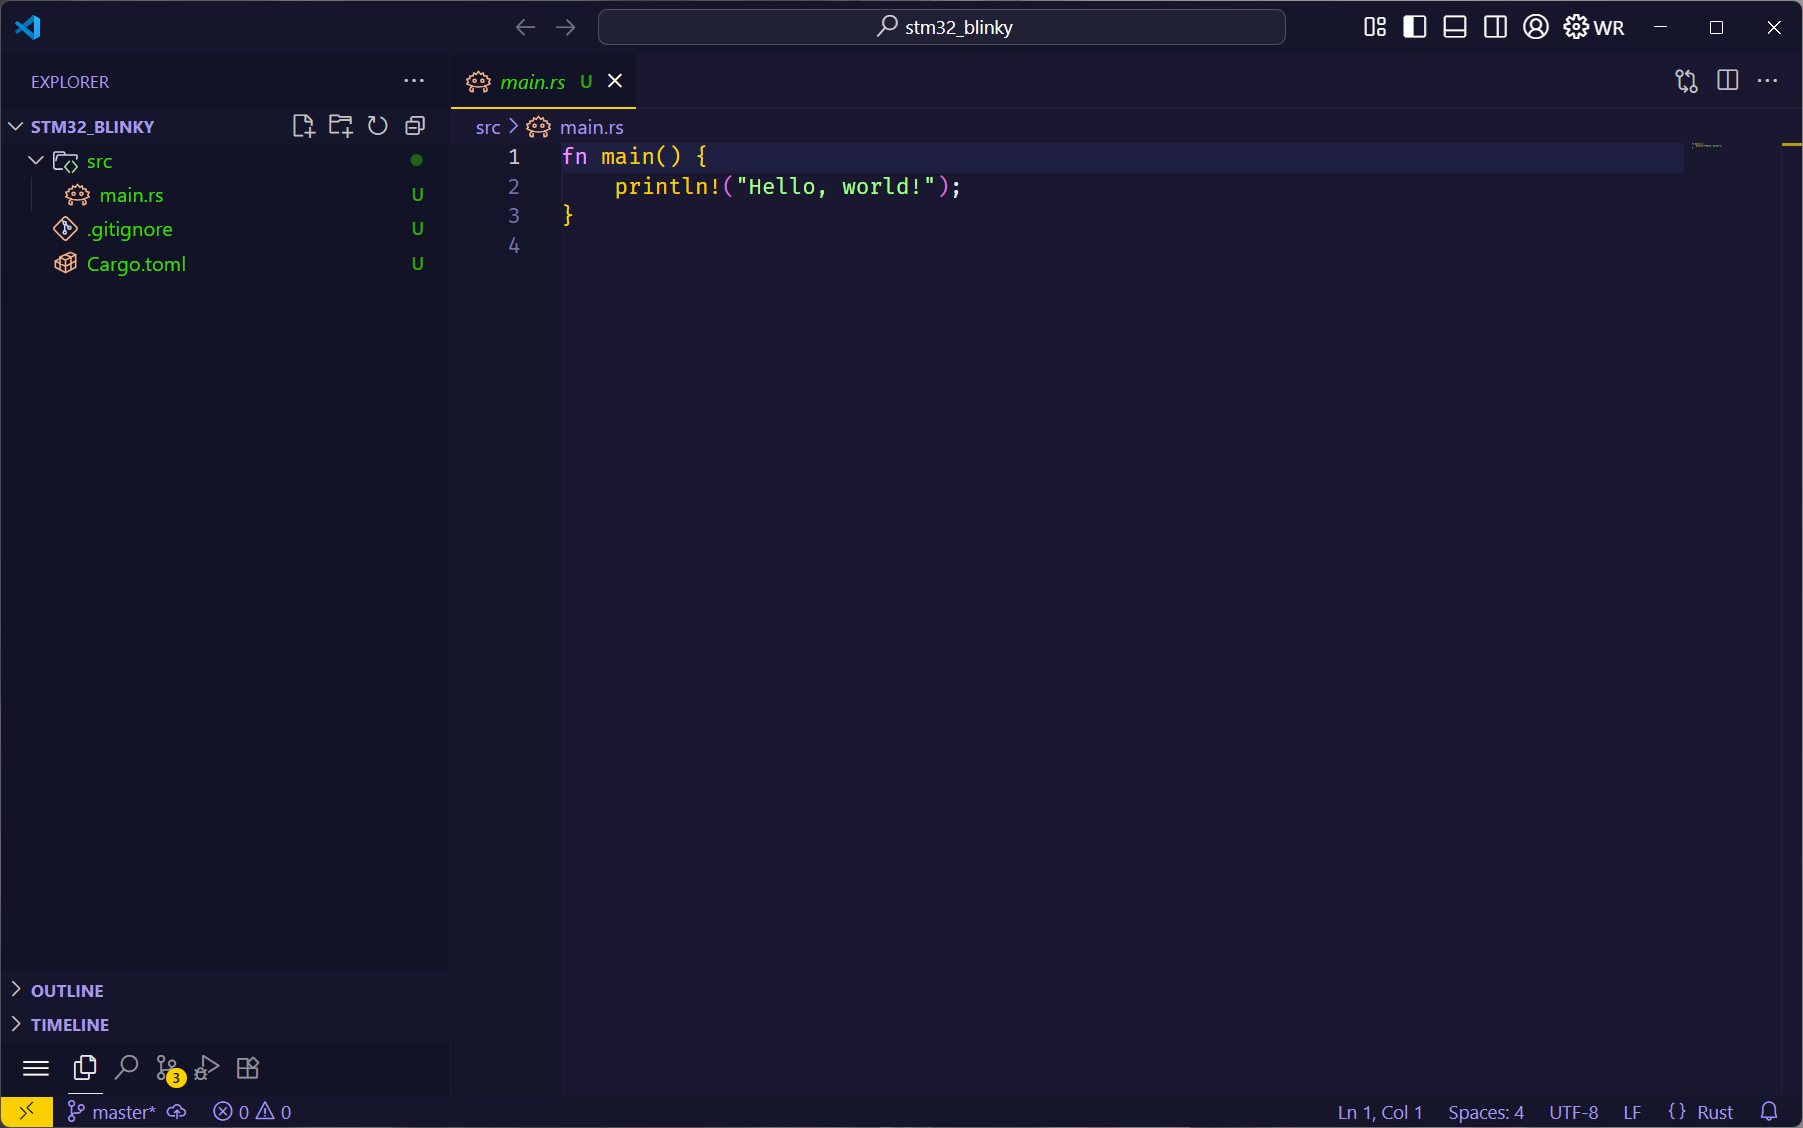
工程目录如下图所示,标准的hello world工程。
移植embassy#
参考embassy仓库的工程进行工程移植,点击跳转embassy stm32f4 examples
在自己的工程根目录里创建两个目录,并且新建文件
1
2
| .config/config.toml
.vscode/settings.json
|
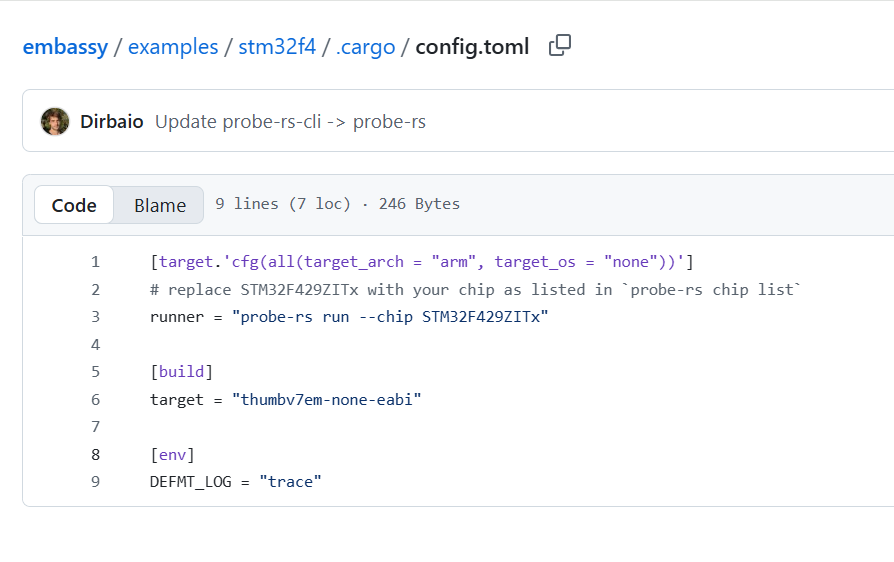
将以下图中内容,复制到.cargo/config.toml里
1
2
3
4
5
6
7
8
9
| [target.'cfg(all(target_arch = "arm", target_os = "none"))']
# replace STM32F407VETx with your chip as listed in `probe-rs chip list`
runner = "probe-rs run --chip STM32F407VETx"
[build]
target = "thumbv7em-none-eabihf"
[env]
DEFMT_LOG = "trace"
|
注意:以上内容并不是照抄,需要按照自己的开发板具体型号来适配芯片名称(--chip xxx),还有编译器(target = "xxx")。
具体做法是:
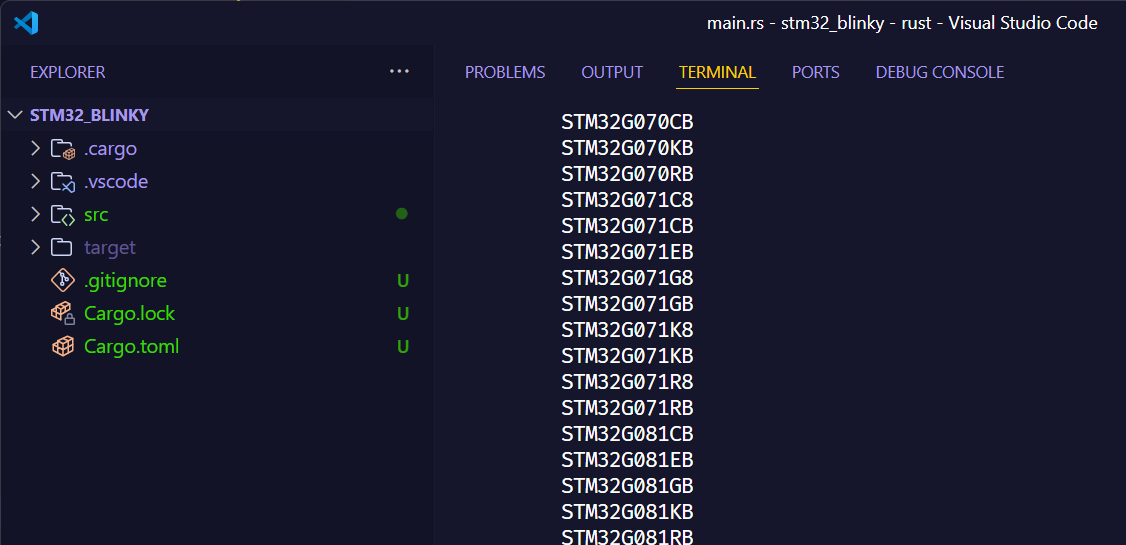
先看自己的开发板是什么型号,例如,我手里的是STM32F407VET6,这个型号在购买开发板的时候可以看到,也可以在芯片上直接读到,由于不确定配置文件里的芯片名称格式,所以需要使用probe-rs提供的命令来查看支持的芯片还有格式书写。
- 在终端里输入
可以看到,支持的芯片很多,但由于显示的问题,只显示了部分芯片型号。
所以需要进行筛选,确定具体的型号。
注意,以下命令需要在git bash里进行,若是linux/mac则无需注意。
- 在终端里输入
1
| probe-rs chip list | grep STM32F4
|
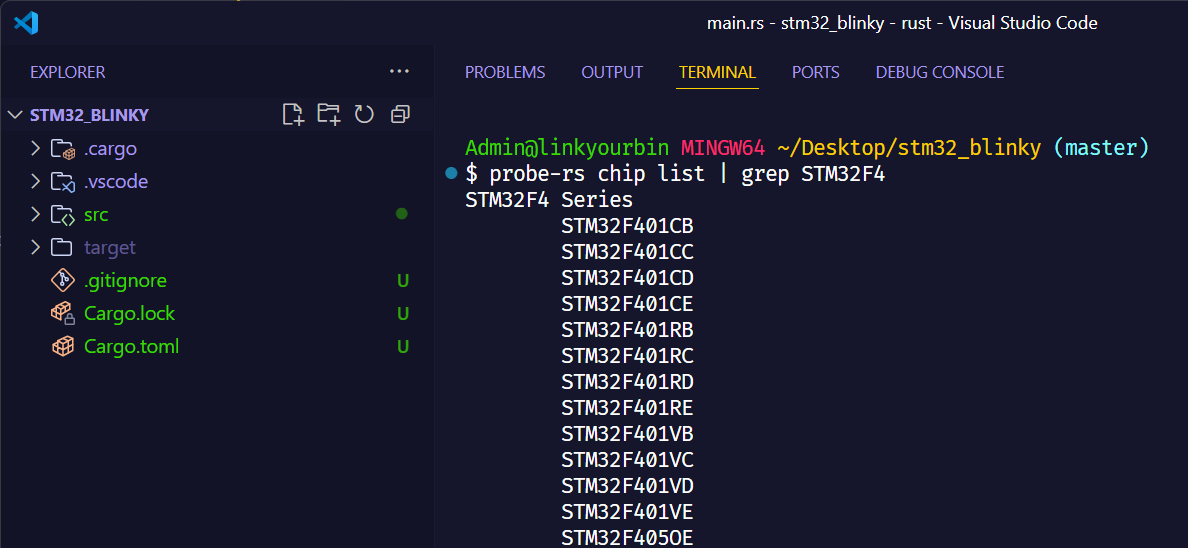
可以看到,已经筛选出了F4系列的芯片,进一步缩小范围。
- 在终端里输入
1
| probe-rs chip list | grep STM32F407
|
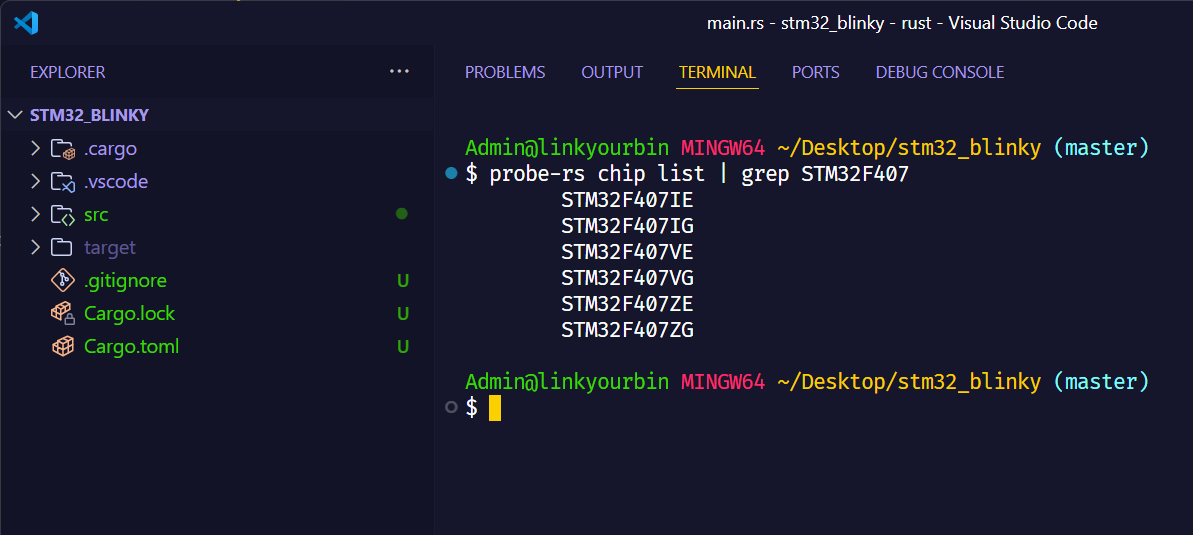
可以看到,所列出的芯片型号中,STM32F407VE与我手里的STM32F407VET6就十分接近,那就选这个STM32F407VE填到.cargo/config.toml文件中--chip xxx的位置。
当然,也可以使用
1
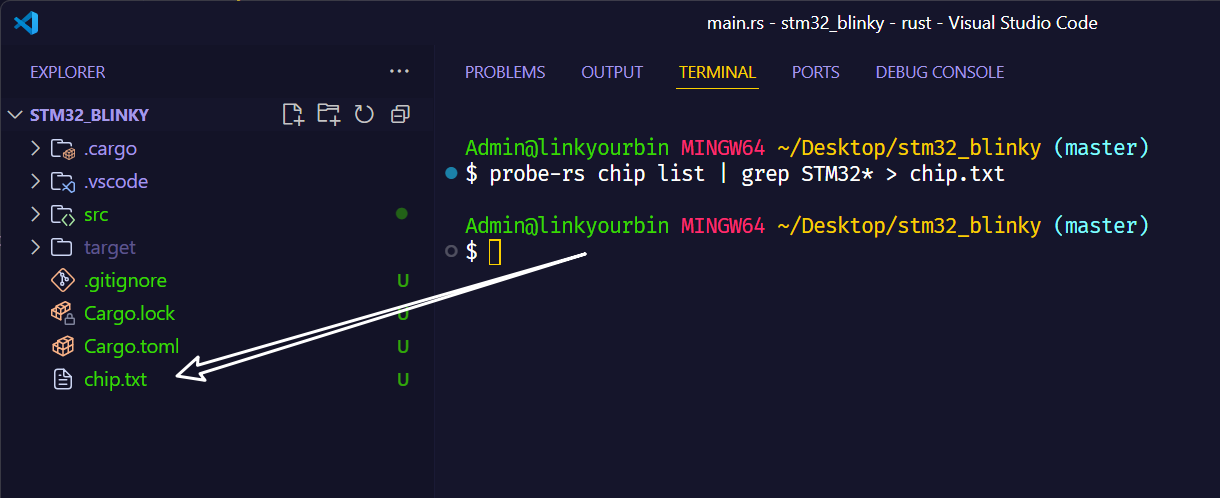
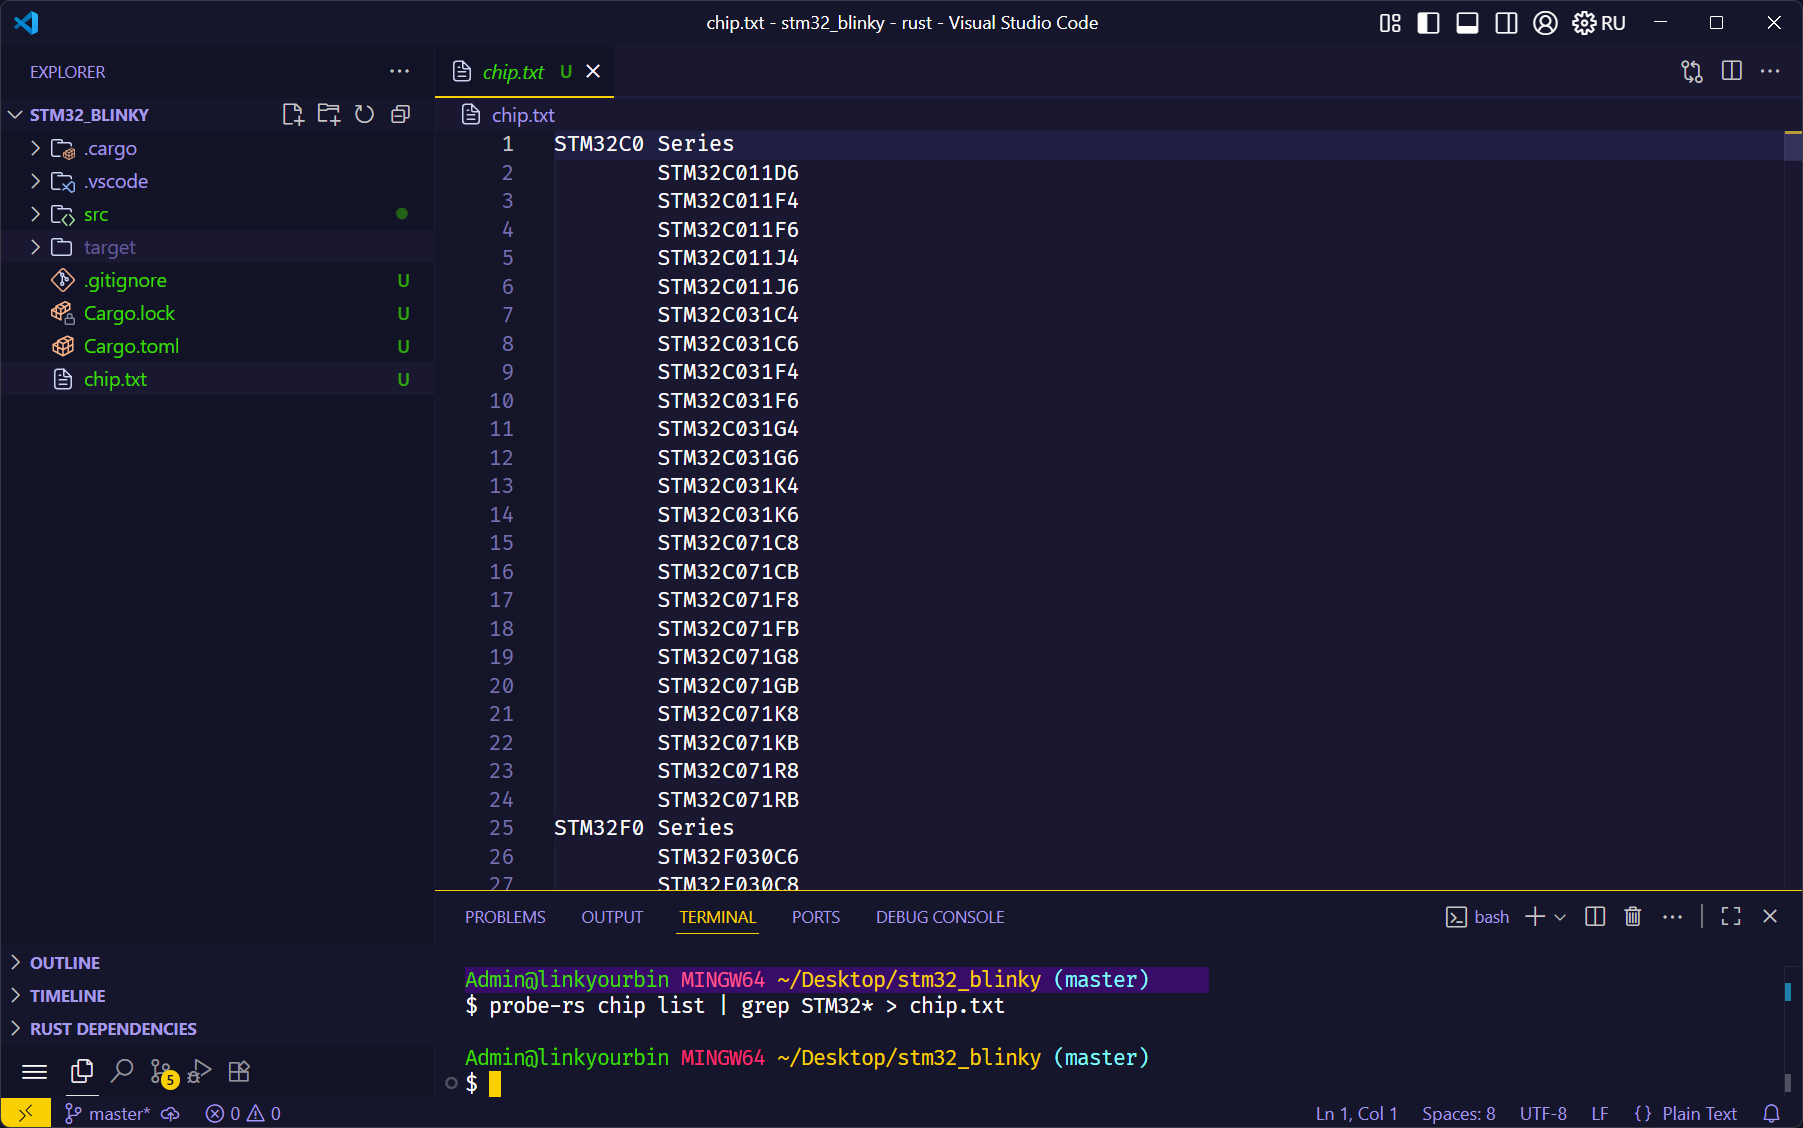
| probe-rs chip list | grep STM32* > chip.txt
|
将STM32系列的芯片型号,保存到一个chip.txt的文件里,再去手动查找。
- 在
.vscode/settings.json里粘贴以下内容
1
2
3
| {
"rust-analyzer.check.allTargets": false
}
|
使用rust做嵌入式开发时,需要no-std,使用以上配置文件,就可以屏蔽报错。
- 复制
embassy examples里的build.rs到自己的工程里
1
2
3
4
5
| fn main() {
println!("cargo:rustc-link-arg-bins=--nmagic");
println!("cargo:rustc-link-arg-bins=-Tlink.x");
println!("cargo:rustc-link-arg-bins=-Tdefmt.x");
}
|
- 复制必要的依赖配置到根目录里的
Cargo.toml文件里
 1
 2
 3
 4
 5
 6
 7
 8
 9
10
11
12
13
14
15
16
17
18
19
20
21
22
23
24
25
26
27
28
29
30
31
32
33
34
35
36
37
| [package]
name = "stm32_blinky"
version = "0.1.0"
edition = "2024"
[dependencies]
embassy-stm32 = { version = "0.4.0", features = ["defmt", "stm32f407ve", "unstable-pac", "memory-x", "time-driver-any", "exti", "chrono"] }
embassy-sync = { version = "0.7.2", features = ["defmt"] }
embassy-executor = { version = "0.9.0", features = ["arch-cortex-m", "executor-thread", "executor-interrupt", "defmt"] }
embassy-time = { version = "0.5.0", features = ["defmt", "defmt-timestamp-uptime", "tick-hz-32_768"] }
embassy-usb = { version = "0.5.1", features = ["defmt" ] }
embassy-net = { version = "0.7.1", features = ["defmt", "tcp", "dhcpv4", "medium-ethernet", ] }
embassy-net-wiznet = { version = "0.2.1", features = ["defmt"] }
embassy-futures = { version = "0.1.2"}
defmt = "1.0.1"
defmt-rtt = "1.0.0"
cortex-m = { version = "0.7.6", features = ["inline-asm", "critical-section-single-core"] }
cortex-m-rt = "0.7.0"
embedded-hal = "0.2.6"
embedded-hal-bus = { version = "0.2", features = ["async"] }
embedded-io = { version = "0.6.0" }
embedded-io-async = { version = "0.6.1" }
panic-probe = { version = "1.0.0", features = ["print-defmt"] }
futures-util = { version = "0.3.30", default-features = false }
heapless = { version = "0.8", default-features = false }
critical-section = "1.1"
nb = "1.0.0"
embedded-storage = "0.3.1"
micromath = "2.0.0"
usbd-hid = "0.8.1"
static_cell = "2"
chrono = { version = "^0.4", default-features = false}
[profile.release]
debug = 2
|
注意:以上配置,均是来自embassy仓库,只是将path字段删除了,在编译的时候,会自动在线拉取,因为我们并没有将这些库拉取到本地,所以这个字段可以删除,当然也有其他配置的方式,例如指定git,大家感兴趣可以自行去探索。
大家可以自行对比,进行移植。最简单的方式就是复制上面的配置文件到自己的Cargo.toml文件里,再将embassy-stm32 = { version = "0.4.0", features = ["defmt", "stm32f407ve", "unstable-pac", "memory-x", "time-driver-any", "exti", "chrono"] }这个依赖里的stm32f407ve修改为前文教大家适配的自己的芯片型号即可。
编写代码点灯#
完成了以上工程创建之后,就可以开始写代码点灯了。当然了,第一次,还是直接复制粘贴,局部调整即可。
将以下代码,粘贴到main.rs里。
 1
 2
 3
 4
 5
 6
 7
 8
 9
10
11
12
13
14
15
16
17
18
19
20
21
22
23
24
25
26
| #![no_std]
#![no_main]
use defmt::*;
use embassy_executor::Spawner;
use embassy_stm32::gpio::{Level, Output, Speed};
use embassy_time::Timer;
use {defmt_rtt as _, panic_probe as _};
#[embassy_executor::main]
async fn main(_spawner: Spawner) {
let p = embassy_stm32::init(Default::default());
info!("Hello World!");
let mut led = Output::new(p.PC0, Level::High, Speed::Low);
loop {
info!("high");
led.set_high();
Timer::after_millis(300).await;
info!("low");
led.set_low();
Timer::after_millis(300).await;
}
}
|
只需要将PC0修改为自己板子所连接LED的引脚即可。
1
| let mut led = Output::new(p.PC0, Level::High, Speed::Low);
|
确保烧录器、开发板、电脑连接无误,供电正常。
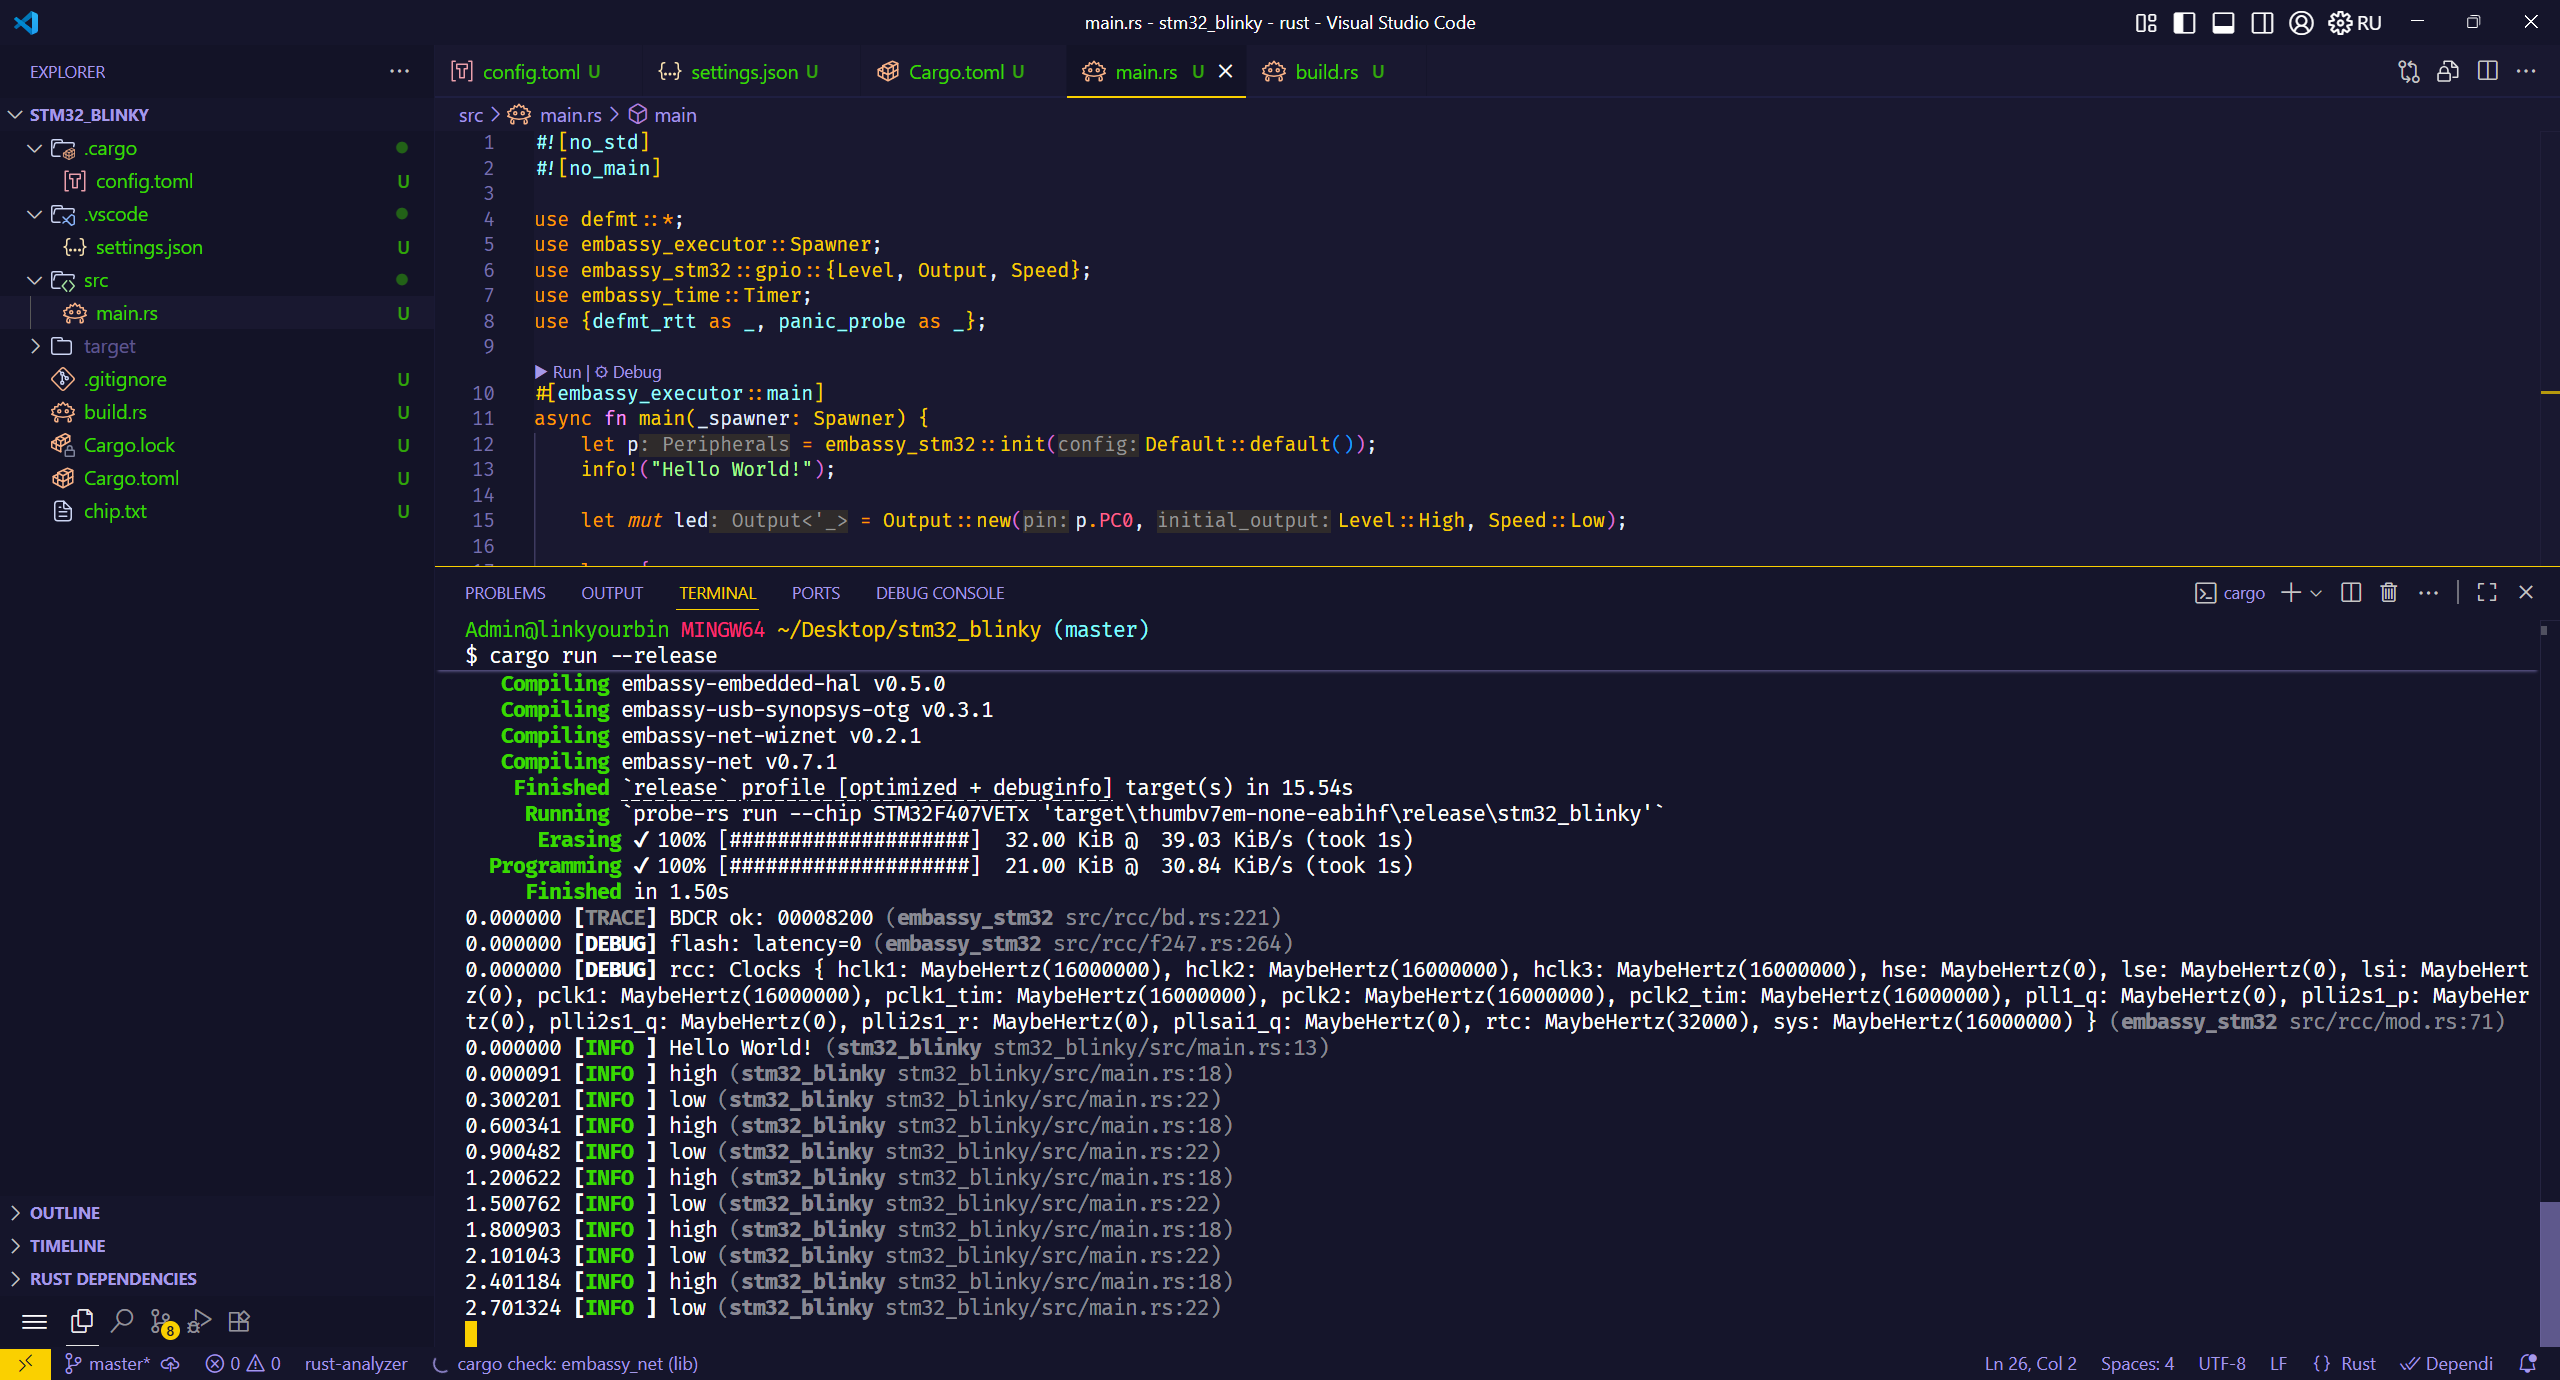
打开终端,输入
开始编译,可以看到编译进度。

编译完成后,开始下载,并且会在终端里打印出info函数里的内容。(可以用来做类似串口调试的工具。)
至此,恭喜你完成了在STM32单片机上,使用RUST语言点灯。
所有的伟大,源于一个勇敢的开始。😊